With so many free fonts available online, many bloggers have chosen to use text logos instead of graphic logos for their websites. The increase in the use of text logos over graphic logos has become a trend as ‘minimalist’ web design has grown in popularity.
The good news is that adding a font logo to your website is relatively easy! Google offers a library of hundreds of open source fonts that you can use on your website. And best of all – they’re free to use.
There are 3 parts to this tutorial:
Top 10 Google Fonts for logos:
Merienda
Pacifico
Kaushan Script
Permanent Marker
Courgette
Rock Salt
Nothing You Could Do
Dancing Script
Just Me Again Down Here
Merienda
Pacifico
Kaushan Script
Permanent Marker
Courgette
Rock Salt
Nothing You Could Do
Dancing Script
Just Me Again Down Here
Adding Google Fonts to your Website
The easiest method to add these Google Fonts to your website is to use the CSS @import rule to import the style sheet directly from Google Fonts.
Say for example you’re interested in the fonts Pacifico and Courgette. In your WordPress custom CSS, you would add the following code:
@import url('https://fonts.googleapis.com/css?family=Courgette|Pacifico');If you’re using Genesis framework, then the recommended method is to include the following code in Genesis > Theme settings > Header scripts
<style>

  @import url('https://fonts.googleapis.com/css?family=Courgette|Pacifico');

  </style>
Enhancing the Visual Appeal of Logos
After you’ve imported the Google Fonts code, you can start building your logo. To make your logo look nice, you should consider using a relatively large font, an attractive font color, and applying shading around the letters.
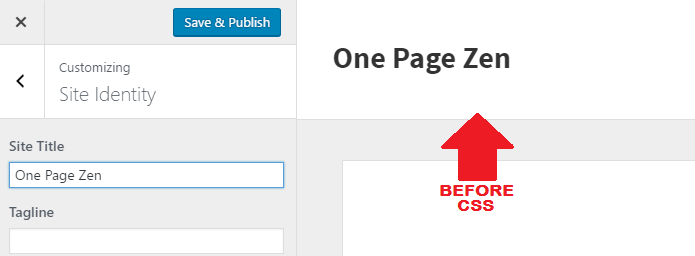
Say you want to make a logo using the font Pacifico, which we imported into our website in the last example. From your WordPress dashboard, you would go to Appearance > Customize > Site identity > Site title. In the Site title box you would enter the name of your website.
Before adding CSS
Without adding any CSS, you can see that the default font is boring.
Now add the CSS
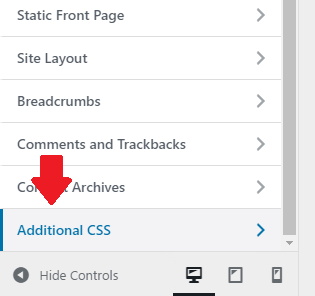
To style your logo, add the following code in Appearance > Customize > Additional CSS.
.site-title a {

  font-family: 'Gloria Hallelujah', cursive;

  font-size: 5rem;

  font-weight: 300;

  color: #009900;

  text-shadow: 2px 1px 1px #d7d7d7;

  }
After Adding CSS
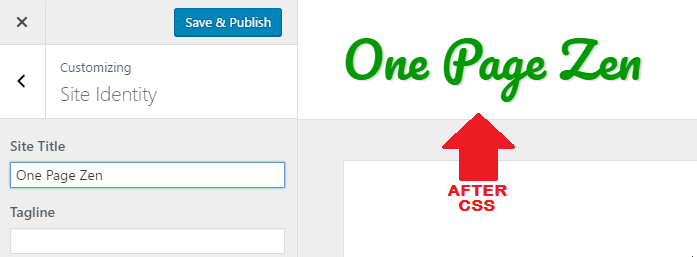
You can try playing around with as many Google Fonts as you like, until you find a font that is well suited for your brand. With 100's of fonts to choose from, you'll have no problem finding a perfect match.
Hope you found this tutorial interesting, and don't forget to post your questions and comments below!
![]()
Mahmood says
Hello bro !
i like you cuz your tutorial is good.bro i need your help .i want that theme that you use on our site.can you give me pls.
Leron Amin says
Hi Mahmood,
You can find the theme used for the website here.
Let me know if you have any questions,
Joe
Leron Amin says
What did you think of this tutorial?
Share your questions and comments below.
Also, let’s connect on social media!
https://www.facebook.com/onepagezen
https://www.twitter.com/onepagezen
https://www.google.com/+onepagezen
-Joe